| |
 WARNING! WARNING!
| | Risk of injury and poisoning working with hydraulic fluid!
Risk of injury to skin or eyes from hydraulic fluid spraying out under pressure. When disengaging hydraulic lines without depressurising the system, dangerous skin or eye injuries can occur due to the very high pressures (in excess of 200 bar). If hydraulic fluid, particularly central hydraulic fluid (especially harmful), comes into contact with unprotected skin, this can cause damage to the skin.
If hydraulic fluid is swallowed, this can lead to poisoning symptoms such as headache, dizziness, nausea, vomiting, diarrhoea, cramps and unconsciousness.
Wear protective gloves, protective clothing and eye protection.
| • | Depressurise and drain the system if necessary when commencing work on hydraulic systems.
| | • | Never put hydraulic fluid into beverage containers.
| | • | Ensure sufficient ventilation, especially in the case of central hydraulic fluid.
| | • | Ensure that only authorised persons have access to hydraulic fluid.
| | • | Immediately seal disconnected leads and hoses and the connections to the assembly with blind plugs.
|
| |
WARNING!
| | Possible fluid spills from vehicle systems during repairs or maintenance.
Risk of thermal incidents, slip hazards, corrosion of electrical components, failure of electrical or mechanical components or unwanted odours.
Always limit fluid spills and fully clean the spilled fluid after repairs or maintenance.
| |
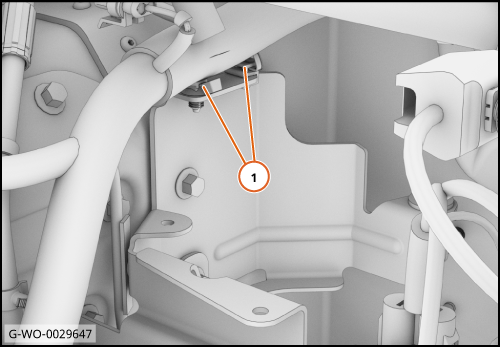
| | | 1. | Disengage the clips (1).
| | | 
|