| 1. | Remove the remaining adhesive tape from the badge bond path.
| | |
|
| | | Care Point: | When you apply cleaner, obey the manufacturer's flash times.
|
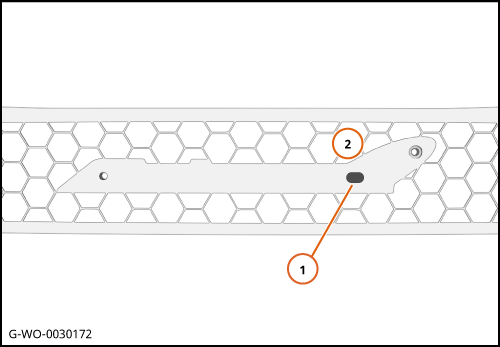
| | | 2. | | | | 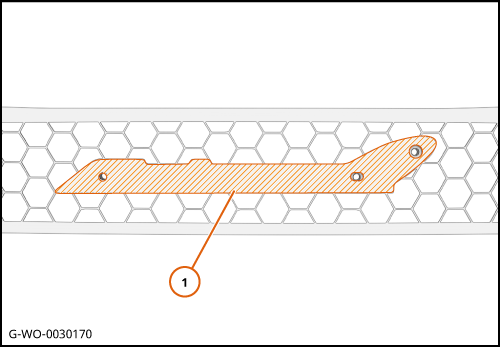
|
| 
|
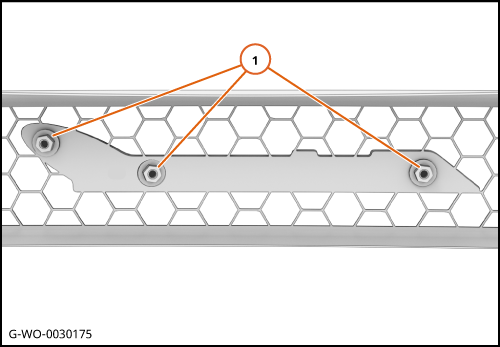
| 4. | Drill a new hole in position 2 (1).
| | | 
|
| 5. | Increase the diameter of the hole (1) to 5.5mm.
| | | | | Care Point: | When you apply primer, obey the manufacturer's flash times.
|
| | | 6. | | | | 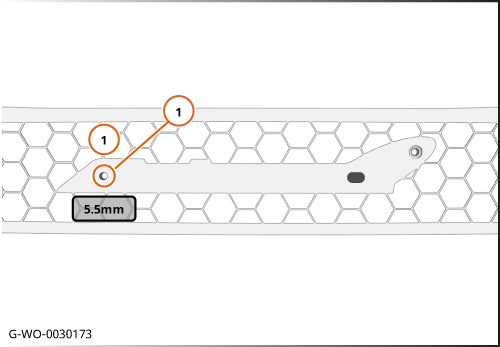
|
| 7. | Install the badge in the direction shown.
| | | 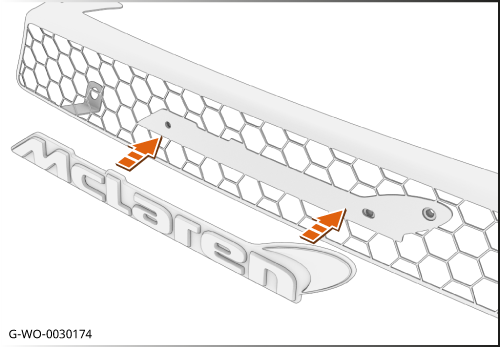
|
| 8. | | | | 9. | Install the remaining components in reverse order.
| | | 
|